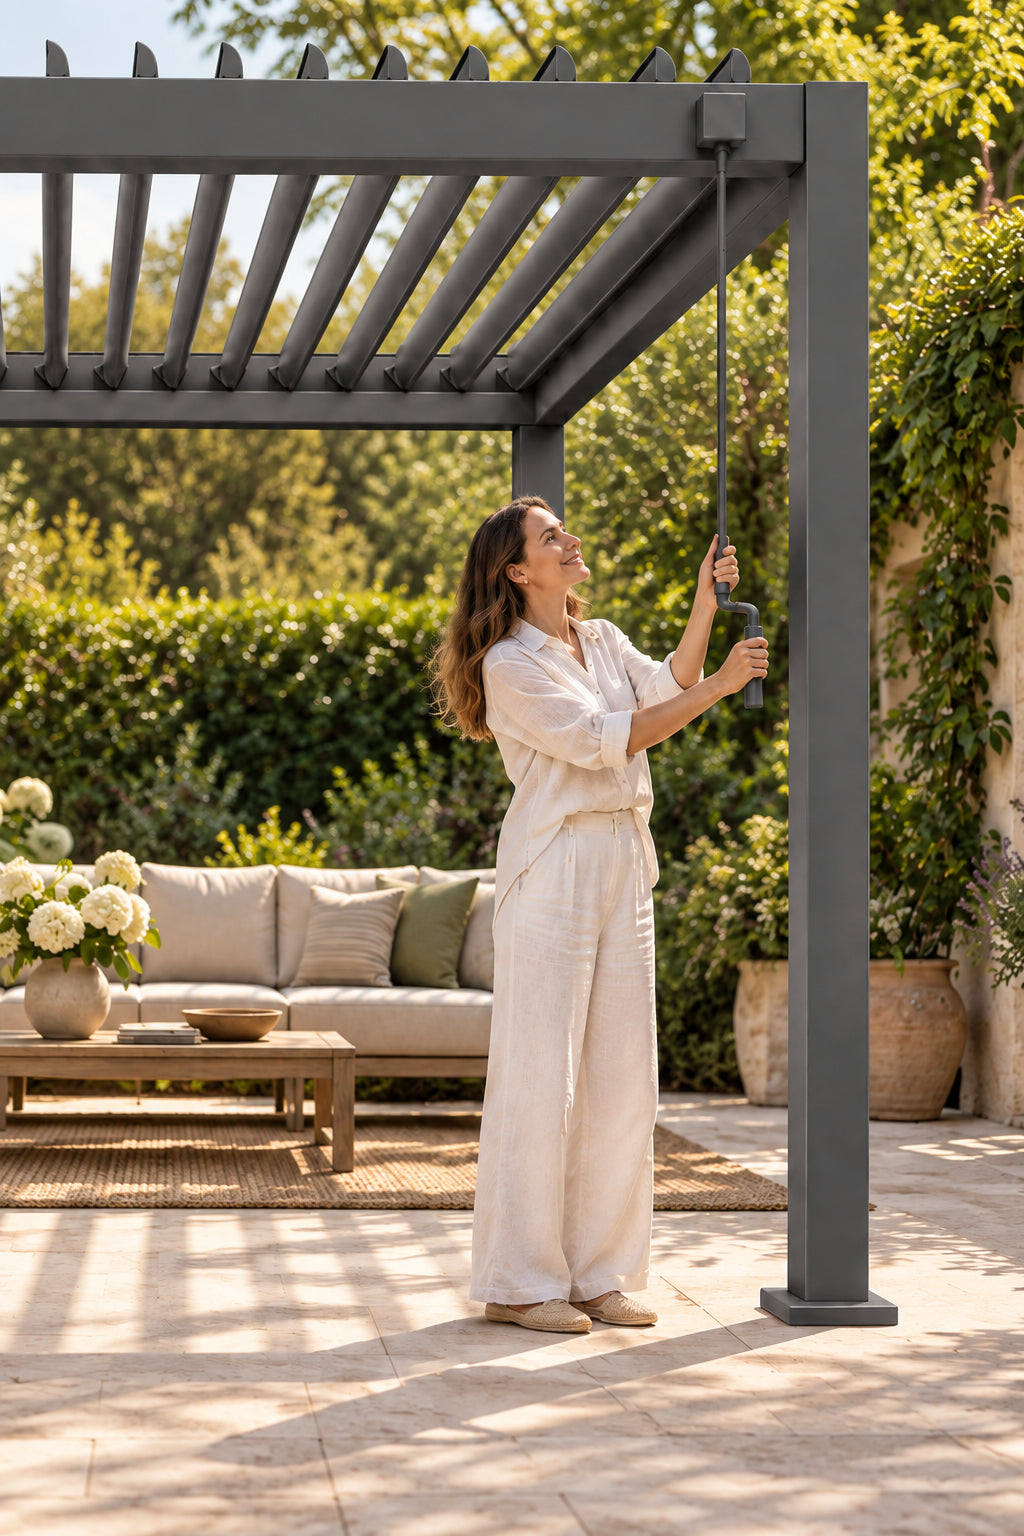
Keep it simple.
ManualAdjust the roof by hand for everyday shade and open-air living.
- Roof control
- Hand crank
- Roof power
- No electrical supply needed
- Start here if
- You prefer straightforward hand operation
 LT PERGOLA

A little planning. A better outdoor space.
Find the right fit for your space, your routine and the way you want to live outside.
Find your starting point ↓01 / Find your fit
Start with the way you will use it. Explore the product details when you are ready to compare specifications.
Adjust the roof by hand for everyday shade and open-air living.
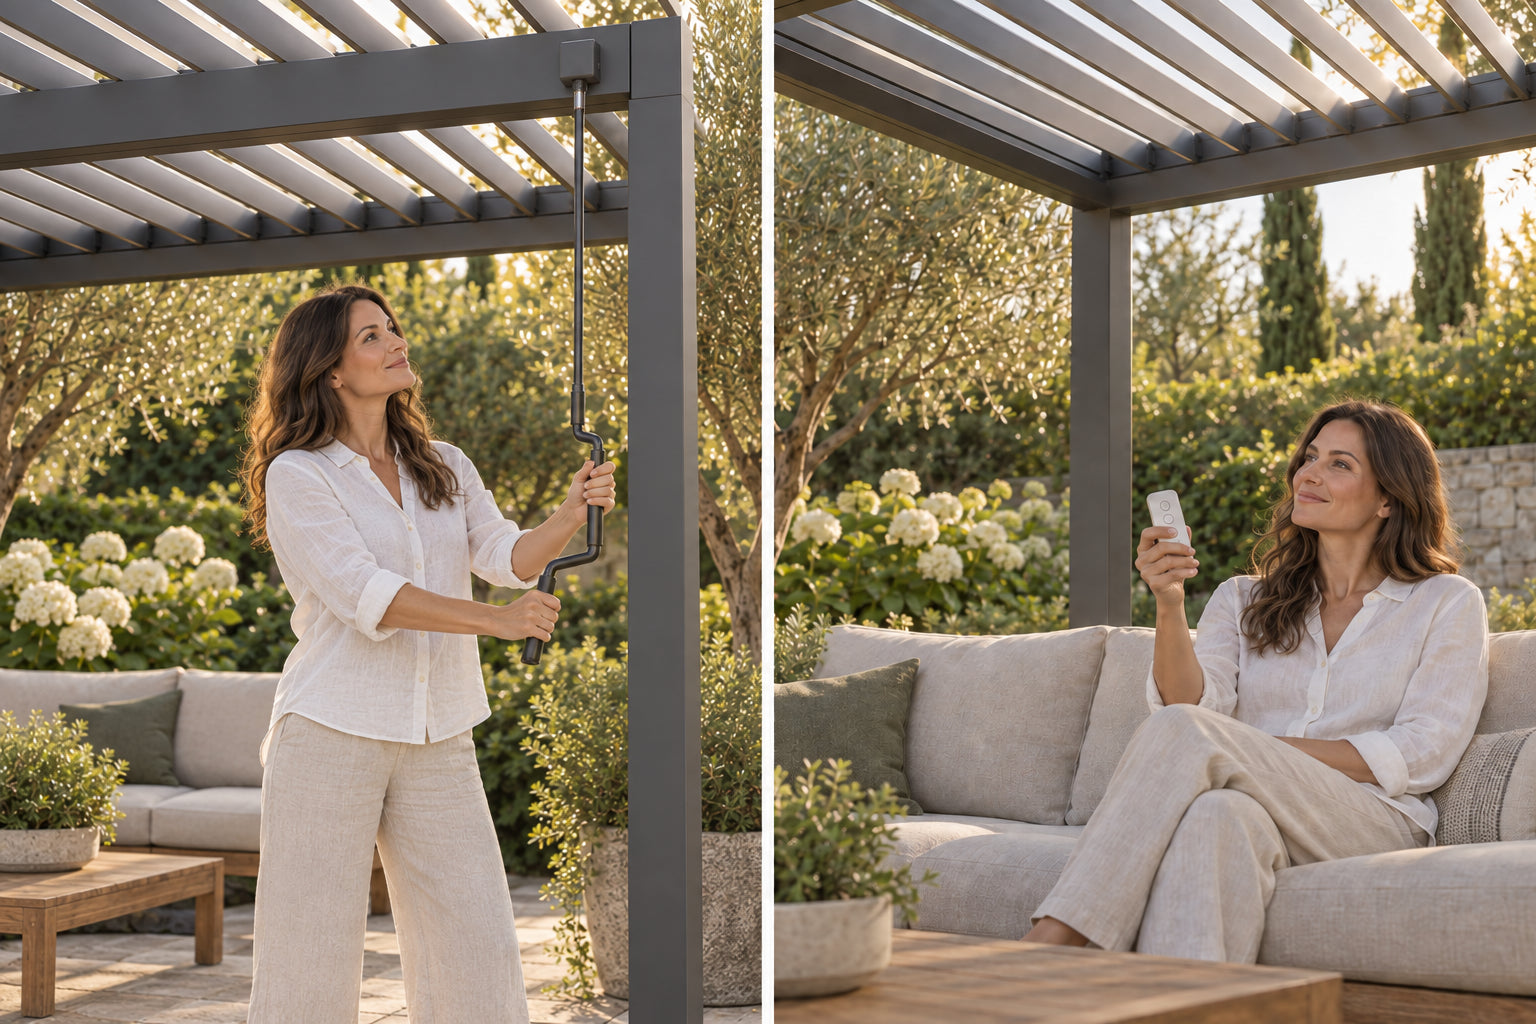
Change the roof position with powered control and explore compatible upgrades.
02 / Size & space
Picture where you will sit, dine and move around. Leave room for chairs to pull out and for doors and walkways to stay clear.
Length & widthMeasure the available footprint, including nearby obstacles.
HeightCheck doors, windows, eaves and the intended roof position.
Furniture shown for planning inspiration, not to scale. Confirm the footprint and usable space for your chosen model.
03 / Before installation
Consider the ground, surrounding structures and services when planning where your pergola will go.
 Look at the whole setting,
04 / Make it work for you
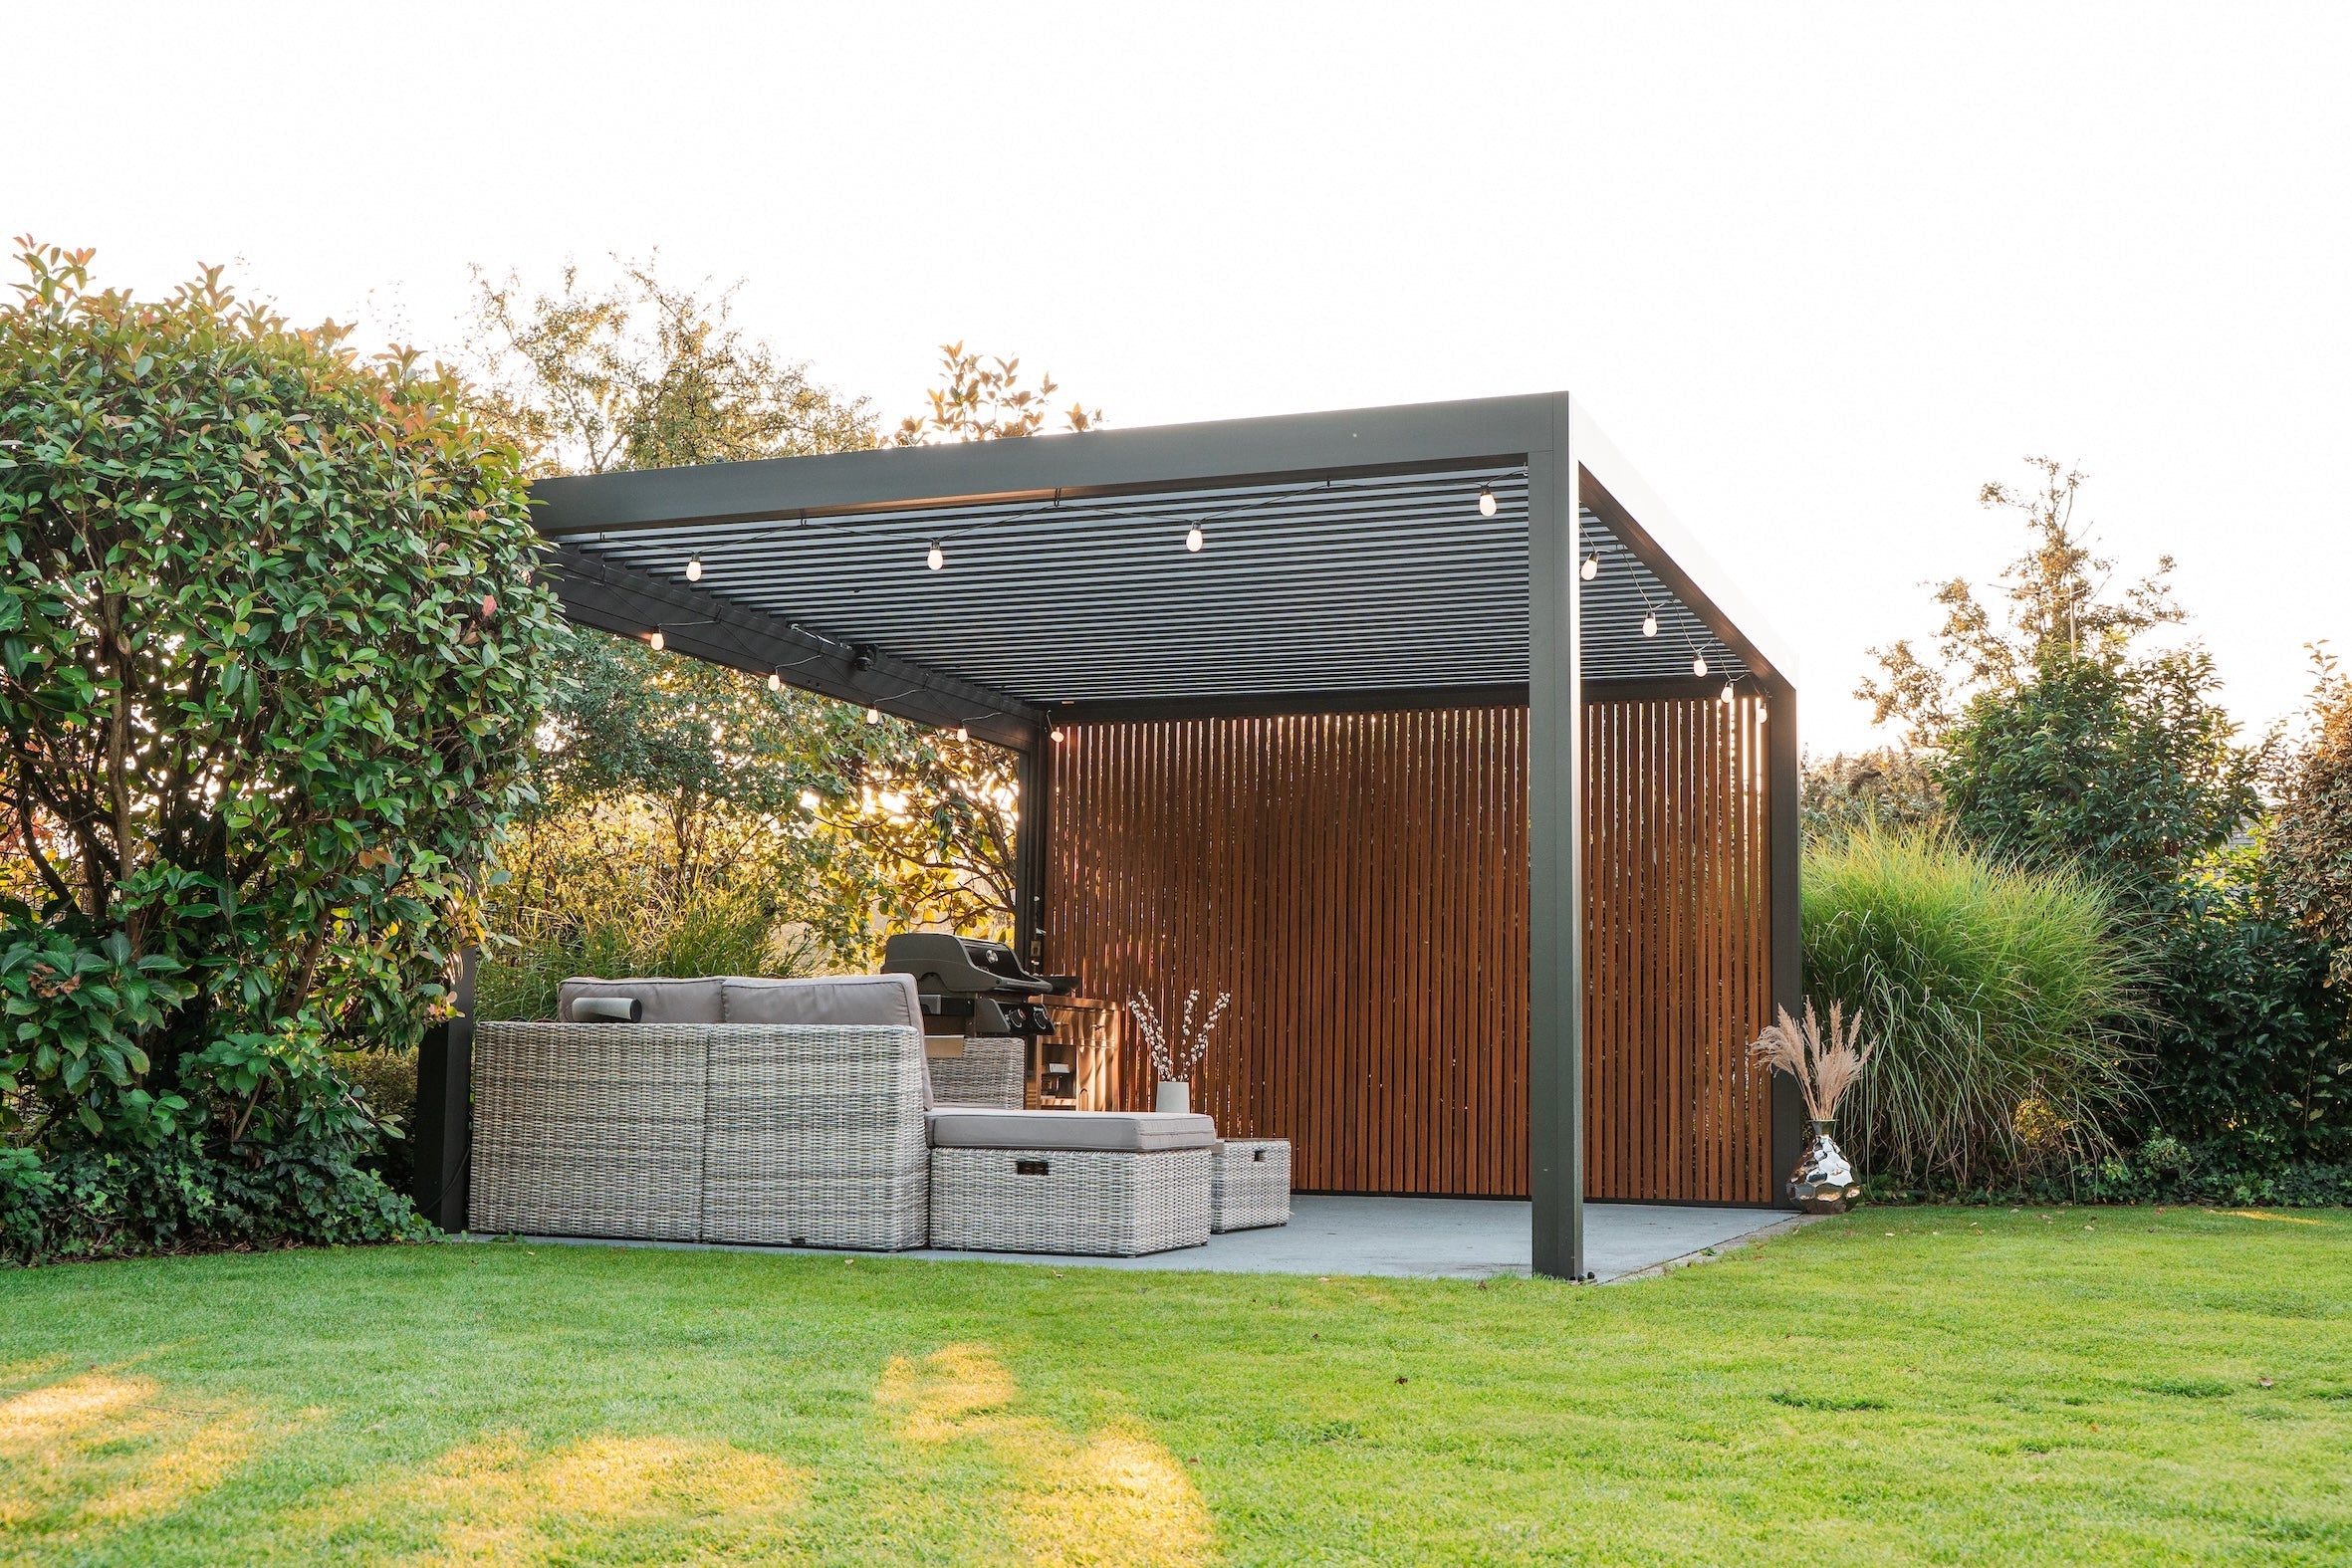
Explore privacy walls where you want a permanent visual boundary.
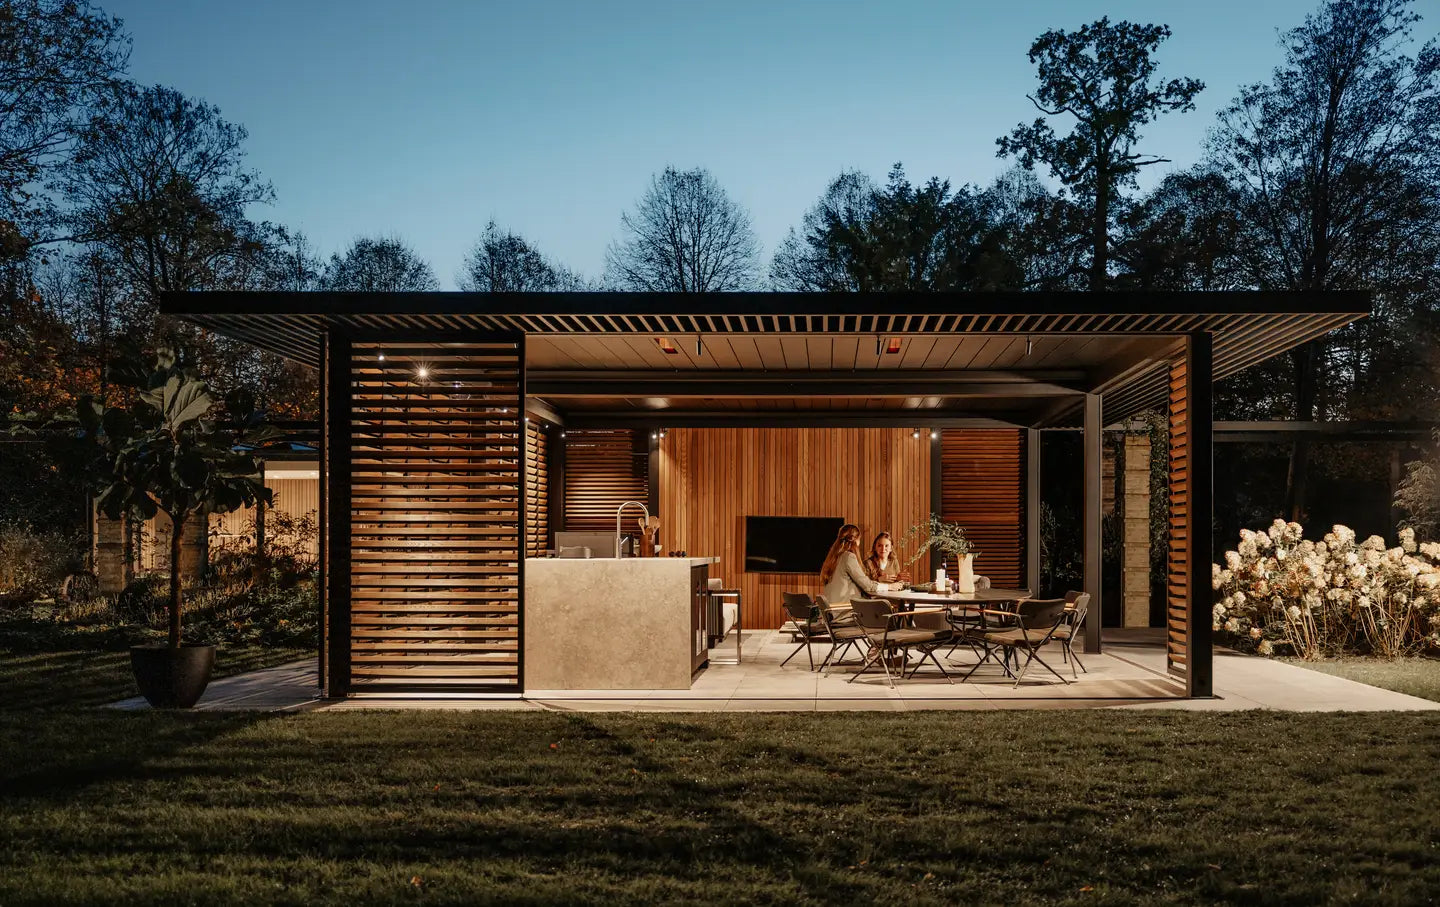
Consider integrated lighting for dining, conversation and time outside after sunset.
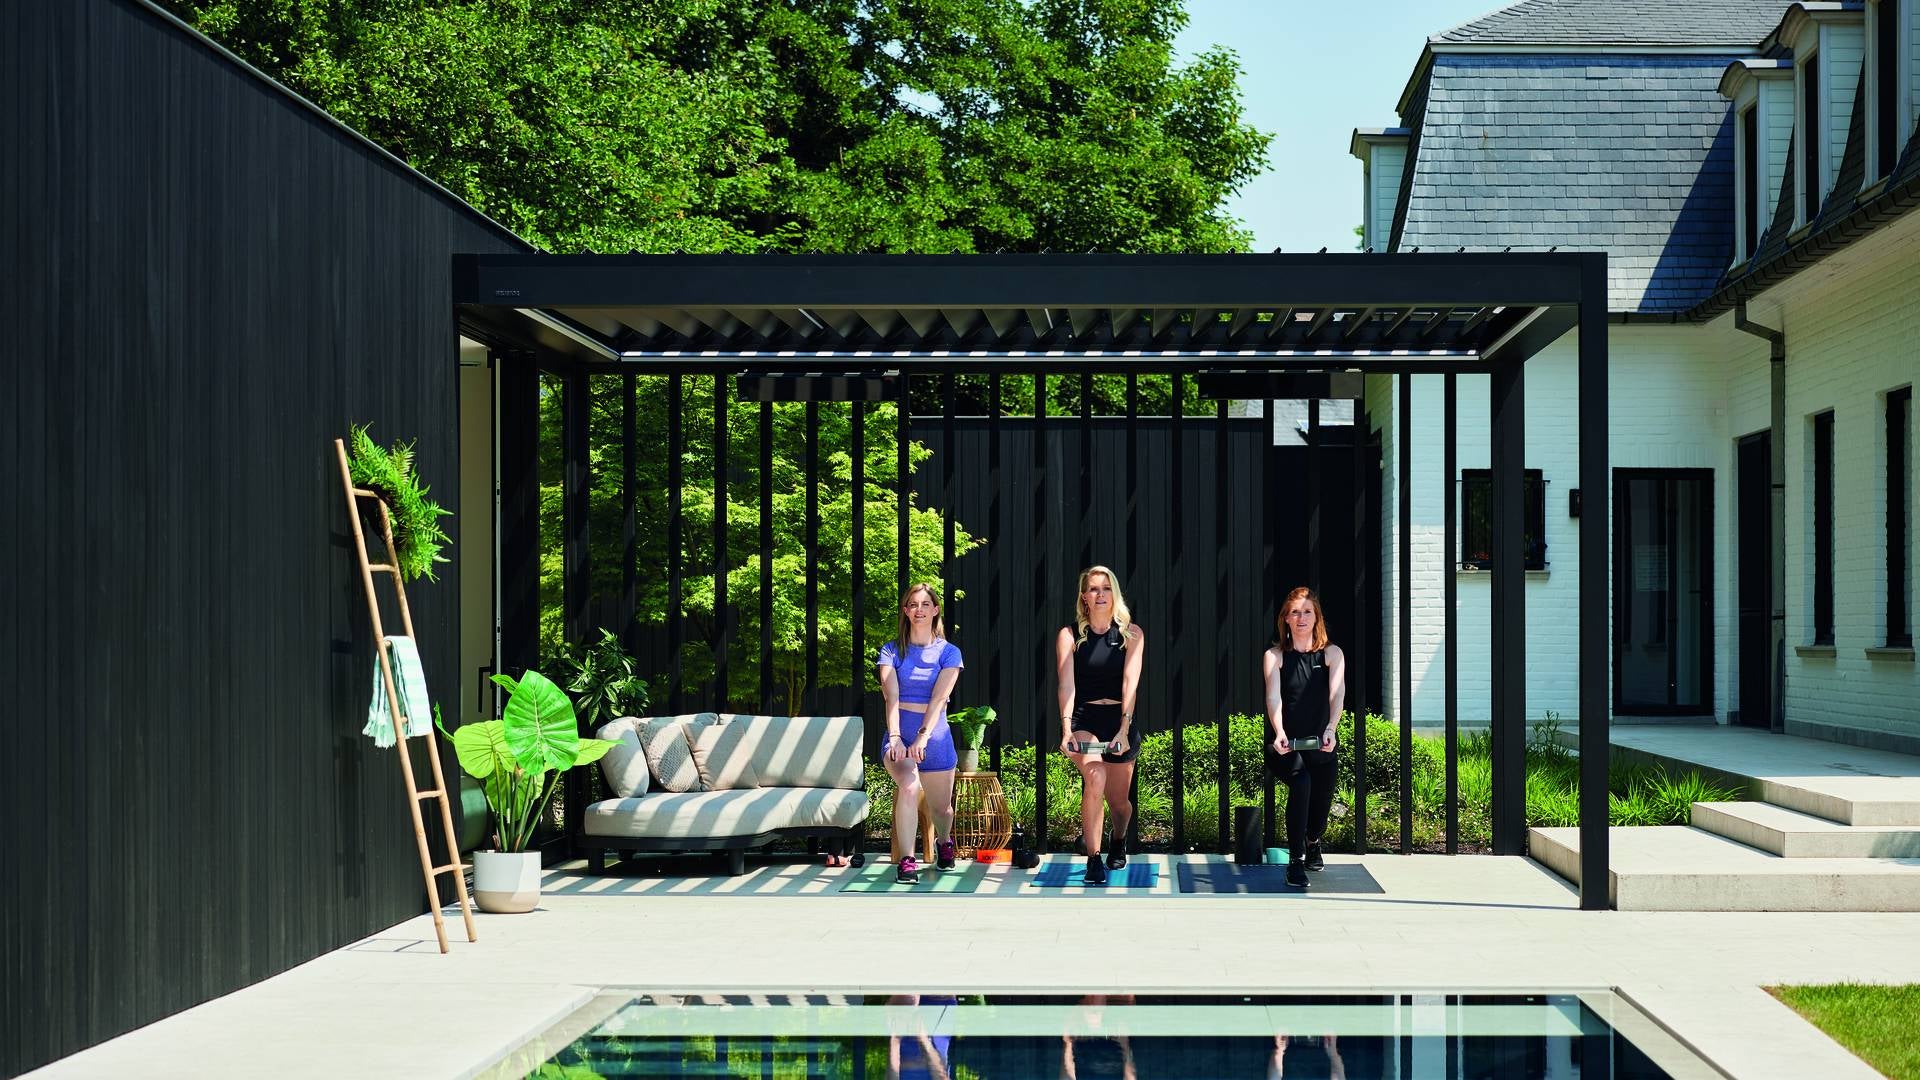
Explore side screens when low-angle sun or surrounding views affect your comfort.
Available accessories depend on the selected product. See the product configurator for compatible options.
05 / Common questions
Practical answers about choosing, using and caring for your pergola.
Ask about your project →Choose LT-130 for hand-crank roof control without roof power. Compare LT-175 and LT-215 for powered roof control and model-specific accessories. Review installation options and specifications before requesting a quote.
Closed louvers provide rain protection by directing water into perimeter channels and down through the posts. Performance depends on correct installation, clear drainage and weather conditions. Open sides remain exposed to wind-driven rain.
There is no single rating for every configuration. Capacity depends on the model, dimensions, anchoring and site conditions. Confirm the applicable test or engineering documentation and operating instructions for your selected configuration before ordering.
Frame finishes, dimensions and accessory choices can be discussed for your project. Available options depend on the product: explore privacy walls, side screens and lighting on the Custom Design page, then check compatibility in the product configurator.
The motorized range includes wall-mounted and freestanding layouts. The manual range currently shows freestanding configurations. A wall-mounted installation needs a suitable supporting wall; confirm the structure and fixing arrangement for your site.
Prepare site measurements, photos and a suitable supporting base. Check clearances, drainage and delivery access, and plan an electrical supply for powered equipment. Agree the fixing requirements and who will carry out the installation before work begins.
Keep the louvers and drainage channels free of leaves and debris, and clean coated surfaces gently with water and a mild cleaner suitable for the finish. Follow the supplied care instructions for cleaning products, moving parts and electrical accessories.
The frame, finish, motor and accessories may have different warranty terms. Confirm the written coverage, duration, exclusions and claim procedure for your selected products before ordering. Keep the agreed terms with your quotation.
Bring your ideas together
Prepare for your pergola quote with site photos, approximate dimensions and your preferred roof operation. Include any lighting, screens or layout requirements so we can discuss a suitable configuration.
01 A few photos of the location
02 Approximate length, width and height
03 A favourite style or configuration